During COVID we could not run our normal group builds of the Oz Goose Sailboat. So we created this instructional video series for the Oz Goose Sailboat so that families, community groups and corporate groups could run their own Oz Goose building programs.
The videos help normal people to build an Oz Goose at home from the plan or from a kit.
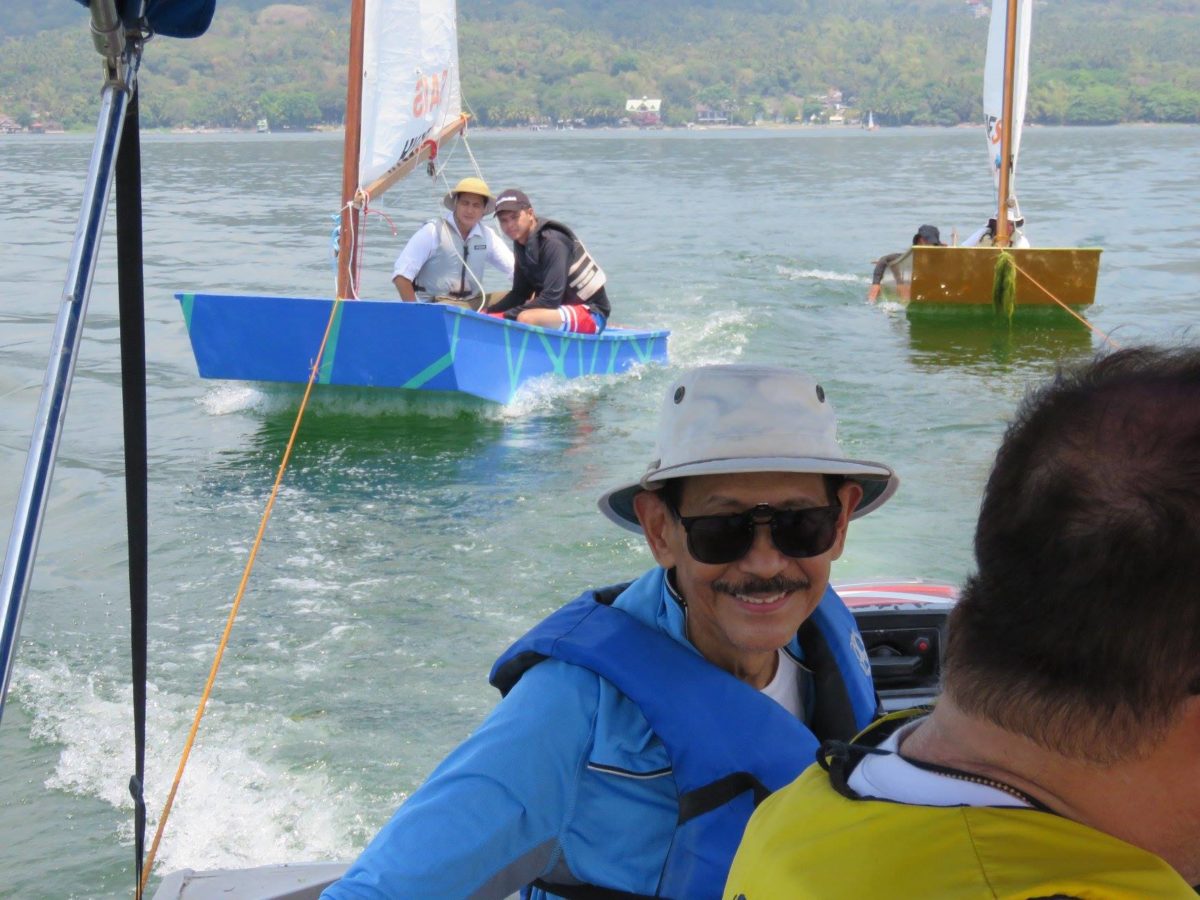
Most Oz Goose sailboats are built in our Family Boatbuilding Weekends (FBWs). Three days of building an oz goose from a prepared kit. But if you can’t get to a FBW you can also build at home.
Instructional Videos on building an Oz Goose Sailboat from plywood or a kit
We have been doing the FBW projects for years and have learned a lot along the way about how to build the Oz Goose in the simplest possible way.
Not only are there the plywood boatbuilding instructional videos below, but there is a helpful resource on Facebook where you can ask questions and be answered by experienced builders and instructors. Both English and Tagalog are available.
This is an overview video from a family that built a goose – initially in a park by a beach – the links to the instructional videos are below.
Video List for the Oz Goose from Kit or Local Plywood and Timber
Note that these Videos are of the group build method where we use nails to attach the decks and bottom of the boat. We do this so that the next step can proceed immediately. Most people building at home will take more time doing work on the weekends or maybe one or two evenings.
The biggest difference to the video approach for most home boat building is that bronze nails will not be used.
That temporary drywall/plasterboard screws (black screws) will be used for assembly and then removed.
We totally trust the glue – 100 boats in the Philippines over 5 years can’t be wrong!
0 Using Epoxy for Boatbuilding and using the Electronic scales
Mixing epoxy precisely is very important as incorrect mixing and measuring will prevent the glue from hardening
Dry Assembly of Stage 1 of the Oz Goose Hull.
2 bulkheads, 2 tank faces, 2 bow and stern transoms, 2 side panels.
01 Dry Assembly of Bulkheads and Tank Faces
We use a dry assembly method. All plywood for the construction step is assembled temporarily with no glue. This way any troubleshooting can be done without glue getting all over the place.
Drywall/plasterboard screws are used to temporarily assemble the plywood parts.
02 Dry Assembly of Bow & Stern Transoms
Same for the front and back of the boat. Everything is aligned perfectly without the glue.
03 Dry Assembly of Side Panels
The outside skin of the boat is also added to the structure. It is pretty floppy, but once the boxes of the hull are formed later it becomes light and strong.
the Gluing process of stage 1 of the Oz Goose Sailboat Hull.
04A Gluing Bulkheads Tanks Transoms Sides
Part 1 Disassembly
We take the parts apart and lay them out ready for glue to be applied
04B Gluing Bulkheads Tanks Transoms Sides
Part 2 How to Mix Epoxy Glue
Now we show you the secret of the method. The glue is applied and the parts can be quickly assembled into exactly the same screw holes of the dry assembly step.
Because a lot of gluing is done at once this prevents wasting the expensive epoxy.
The final step is to straighten the boat so that no permanent bends or twists are built into the hull.
04C Gluing Bulkheads, Tanks, Transoms, Sides
Part 3 Gluing and Final Assembly
More gluing.
Stage 2 – Fitting and Gluing the bottom of the Dinghy Hull.
05 Dry Assembly and Gluing of Hull Bottom
Same process for the bottom. Dry assembly, disassembly then glue application and screw the panels together in the same holes.
Stage 3 – Fitting out the Interior with centrecase and mast support
06 Aligning the Boat and Dry Assembly of Interior Components
Hull is levelled again so that it is not twisted. Now the centrecase, mid seat, mast partner and mast step are dry fitted. It is very important they are straight.
07 Gluing All Interior Components and cutting out the centrecase slot
The components fitted in the last step are carefully glued in place.
Fibreglass the Bottom and Epoxy coat the outside of the Oz Goose Sailboat hull
08 Fibreglassing the Bottom
One-fourth plywood in the Philippines is thinner than the ply in the rest of the world. So we use 4oz fibreglass to cover the bottom and go 25mm/1″ around onto the sides of the hull.
Only use woven cloth of 4oz (preferred) or 6oz for the bottom. See video to see the style of the glass.
If you are using plywood that is really 6mm or 1/4″ thick only the chines need to be fibreglassed with 2″ (50mm) fibreglass tape – see the plans for this simpler and cheaper method.
Decks – coat underside, coat inside tank, Fit the Decks trim and prepare for coating the exterior.
10 Coat interior Of Tanks and underside Decks, Glue the Decks
NOTE that the underside of the decks is epoxied with two coats before being glued down.
Check the boat is level and untwisted before fitting the decks. Any remaining twist will be impossible to remove from the hull after this stage.
11 Final steps before Epoxy sealing decks and cockpit
Important details to make your Oz Goose Look Good and be comfortable to sail.
Rigging the Oz Goose to go Sailing
12 Rigging First time For PHBYC Oz Goose Projects
This is the preparation of the boat and rig before leaving home. It takes some time but most of it will not have to be done a second time.
13 First Sailing Day – Set-Up Boat and Rigging to go sailing
With practice the rigging of the Oz Goose on a sailing day takes a little bit more than 5 minutes.
A Small Memorial
Most of the videos on this page were filmed and edited by Rolly Perez. A dear friend to many of the volunteers that have made the Oz Goose movement possible here.
He and Marte introduced and helped support many people in their adventures in boatbuilding. Rolly died after an illness in 2022.
He is deeply missed by all of us.