We use the same process of dry fit to make sure everything is OK before mixing any glue. The bottom straightens and aligns the earlier assembly stage.
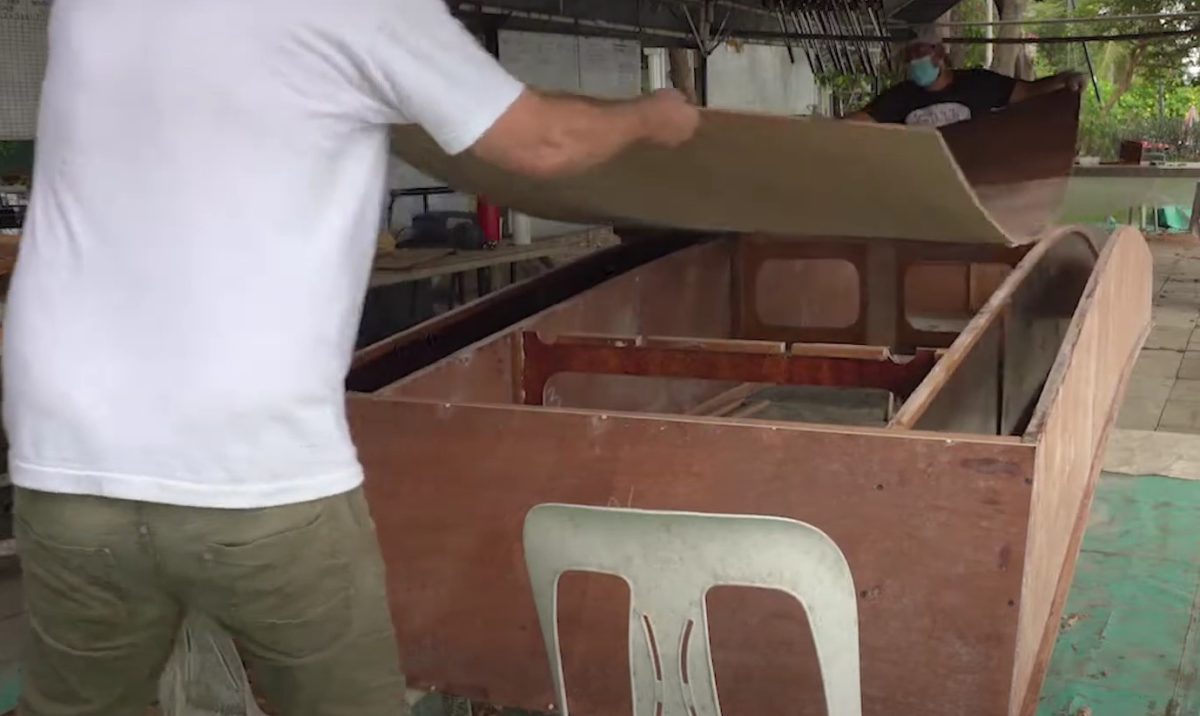
Fastening options for oz goose hull
There are two choices for fastenings. Depending on if you are using our prepared FBW kits over 3 days or building at home with a longer deadline.
1/ For Family Boatbuilding Weekend Kits
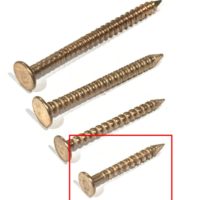
We provide bronze barbed nails to nail on the bottom and the deck. They are 19mm long so they don’t stick out on the inside of the boat.
We use these because we are on a three day deadline. We have to import them from Duckworks USA because they are not available in the Philippines.
The short building deadline means we have to get on with the next stage before the epoxy from the previous step is hard enough.
If using the nails then the temporary black screws are just used to hold everything in place and nails about 250mm apart will do most of the work. So the black screws are just used to hold the parts in place then removed after the nails are in.
2/ For building the Oz Goose over a longer time frame
Using the black screws, like the rest of the boat, will be the most common option for those building at home from the plan or from a non FBW kit.
It means that when the bottom is screwed on it is the end of that day’s process. Remove the screws when the glue is hard which is usually the next day.
Important checks for dry assembly of hull bottom
Bottom panel join is towards the back of the boat.
Make sure the centreline of the bottom is lined up with the centreline of the two bulkheads. Put in two screws to hold them in place
Make sure the edge of the tank face is at an equal distance to the reference line on the bottom.
Use a pencil to mark the positions of each of the tank faces and bulkheads including the position of the limber (half-circle drain) holes. When the dry assembly is done the pencil lines are used to drill guide holes through the bottom so the positions of bulkheads can be found easily from the outside.
Important checks after adding glue to the hull bottom framing
IMPORTANT – Nail heads (if using nails) must be a 6 to 8mm from the edge of the hull ply. Work from the front as shown in the video doing the bow transom, hull sides and then the stern transom.
Then someone has to go under the boat and align the centrelines of the bulkheads with the centreline of the bottom panel. Two screws from outside to hold.
Person under boat makes sure the tank faces are an equal distance from the reference line and the person outside puts in two or three temporary screws to hold the tank face in place.
Proceed with rest of nails or screws. DO NOT SMASH THEM IN – tap tap tap or you can break the bulkheads.
The nails need to finish with their heads smooth and not standing up above the plywood. Check them all.
Check the mast step has no gaps between it and the plywood. If any gaps put in extra nails or screws.
IMPORTANT – clean up any Excess Epoxy now!
Gently turn boat upright without twisting it. Level and tidy up any epoxy ooze in the mast step holes first using a chisel edged glue stick.
Clean up with care in the cockpit area and anywhere that will be visible when the boat is assembled. If there are any gaps inside the tanks areas (out of sight) fill them with the excess epoxy – fill from the inside of the tanks so any glue/filling mess will be hidden.
Turn upside down again
Move chairs or blocks to remove twist and leave boat alone to cure or prepare for bottom glassing.